


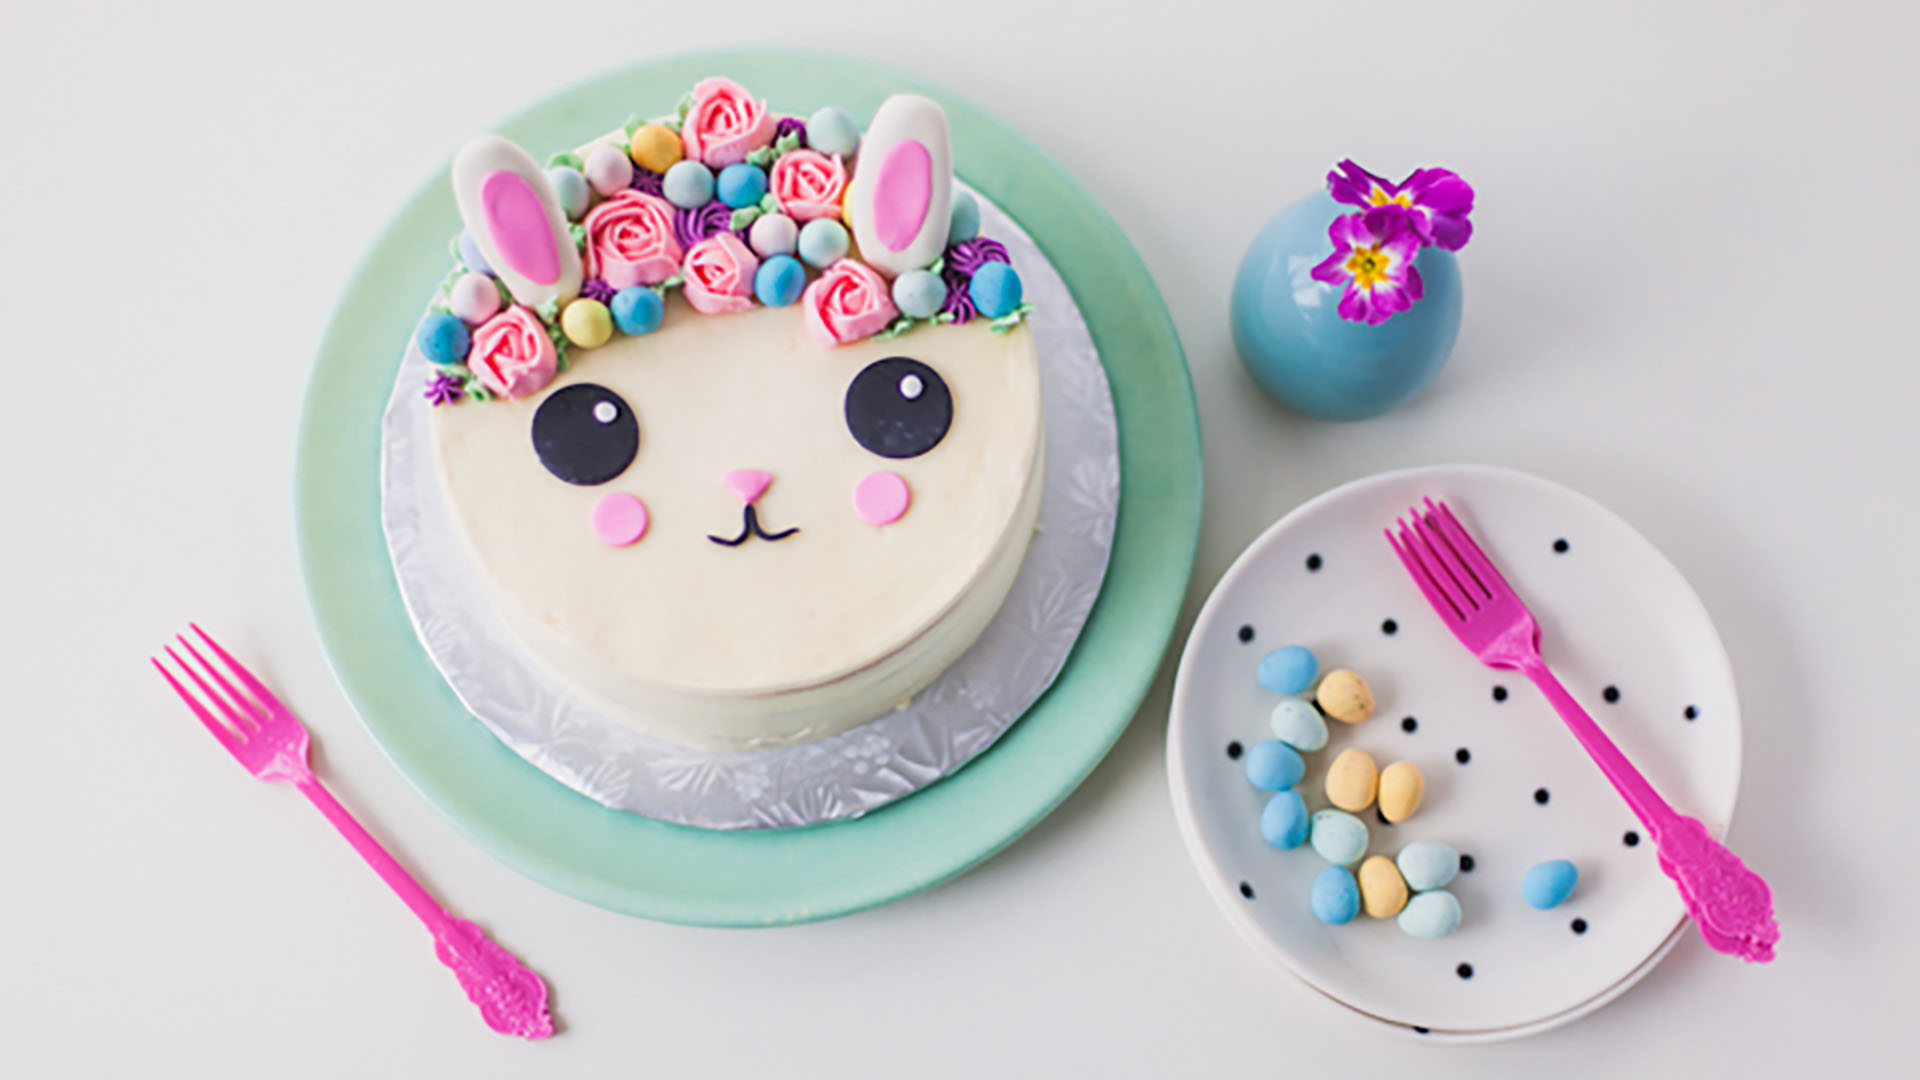
HERSHEY'S EGGIES Easter Bunny Cake
Details
- Timing
- Timing
- Total:
- Bake:
- 18 Min.
- Skill Level:
- Advanced
- Yields:
- 16-20 slices
This HERSHEY'S EGGIES Bunny Cake doubles as a fun Easter dessert or child’s birthday cake! Try your hand at making cake designs.
Ingredients & Directions
- Bake Time
- 18 minutes
- Freeze Time
- 10 minutes
BAKE MODE:
Prevent your screen from going dark while you bake.
Ingredients
-
Your favourite HERSHEY'S cake recipe
-
Simple vanilla buttercream recipe (recipe follows)
-
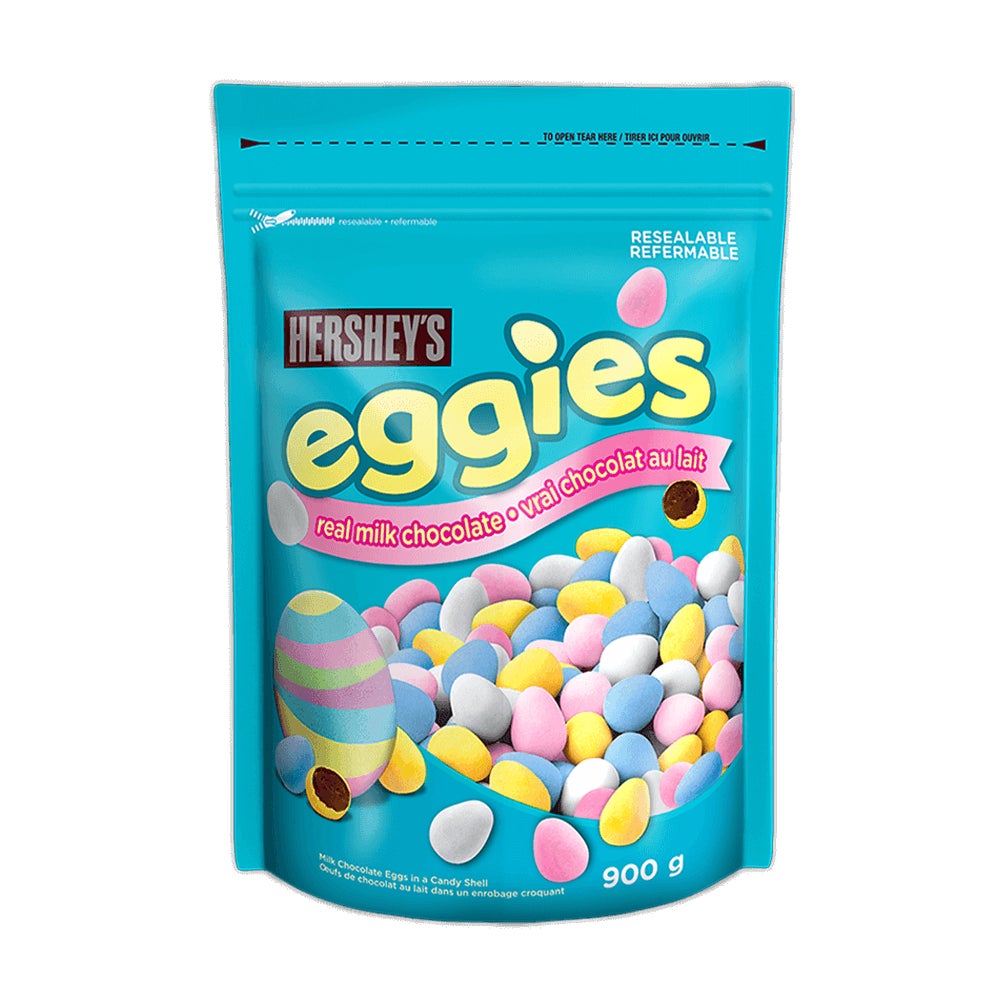
HERSHEY'S EGGIES Milk Chocolate Eggs for decorating
-
fondant in white, black and pink (pre-coloured fondant in small quantities available at craft superstores or online)
-
cornstarch
-
gel food colouring in your favourite shades, including leaf green for piping leaves
-
Coco Cake Land Simple Vanilla Buttercream:
-
2 cupsunsalted butter (500 mL)
-
4 cupsicing sugar (1 L)
-
2 tspspure vanilla extract (10 mL)
Key Ingredients
Directions
Bake cake layers according to recipe instructions. Let cool completely on wire racks.
In the bowl of a stand mixer fitted with the paddle attachment, beat the butter, icing sugar and vanilla extract on low speed to combine – then beat on high speed until light and fluffy and doubled in volume, about three minutes.
Place a dab of buttercream on a cake board or large plate. Place the first cake layer on to the cake board, flat side down. Using a serrated knife, carefully level the cake layer if need be.
Frost the first layer, then level the second cake layer and place cut-side-down on the first layer. Press gently to adhere. Frost the second layer, then add the third cake layer and place cut-side-down.
Frost the entire exterior of the cake with buttercream. Using your cake bench scraper, smooth the sides and top of your cake. Place cake in freezer to chill for 10 minutes to set the buttercream to trap in the crumbs.
Remove cake from freezer; frost with another coat of buttercream, smoothing with the cake bench scraper. Once you are happy with the smoothness level of your cake, set aside.
With clean and dry hands, create the bunny ears, eyes, pink cheeks and mouth. Starting with the white fondant, roll two thick logs of fondant in between your hands, creating bunny ears to size. Flatten to a thick log with your palm and add some pink “inner ears” with the pink fondant. Use a tiny amount of water to adhere the pink fondant to the white fondant. Cut a wooden BBQ skewer in two and place each piece into the fondant, creating a bunny ear. Set aside.
Roll out some pink fondant to 1/4 inch (5 mm) thickness – using a small piping tip edge, punch out the cheeks and set aside. Hand-shape a small triangle nose and set aside.
Roll out some black fondant to 1/4 inch (5 mm) thickness – using a large piping tip edge or a circle cookie cutter, punch out two large eyes (add two tiny white dots of fondant to the eyes if desired, cartoon-style!). Form a small “snake” like piece of fondant in between your palms and bend into the shape of a mouth.
On the top of the cake, place the eyes, cheeks, nose and mouth onto the lower half. Place the bunny ears into the cake, angling slightly back so they’re not completely upright.
Divide the remaining vanilla buttercream into small bowls– one larger amount for pink buttercream, one for purple and one for green. Mix desired colours into each bowl. Fill the piping bag fitted with the petal tip with pink, the piping bag fitted with the open star tip with purple and the piping bag fitted with the leaf tip with the green. If you’d rather make rosettes than full on buttercream roses, use another open star tip for the pink instead of the petal tip.
To pipe a rosette, squeeze the piping bag and make a tight counter-clockwise circle with the buttercream. To pipe leaves, squeeze the piping bag and pull away, leaving a buttercream leaf shape.
Pipe roses onto little squares of parchment paper, place them onto a plate and then freeze them until firm before using them for decorating – that way they are very easy to handle.
Let’s make the HERSHEY’S EGGIES Candy flower crown! Starting from the edge of the cake close to the bunny’s ear, place a few HERSHEY’S EGGIES Candy down, then a rose, then pipe a drop star or rosette. Follow with some piped leaves around each. Continue along, making sure to balance the design as you go, until you’ve made the crown to your liking. Fill in any bare spots with piped leaves and enjoy your adorable HERSHEY’S EGGIES Candy creation!
The bunny cake is best served the day you make it! However, you can refrigerate the cake in an airtight container in the fridge overnight. Bring to room temperature before eating to soften buttercream.
Recipe courtesy @cococakeland